Flutter项目问题总结 - 隐
通过对flutter的基础学习,我用flutter做了一个功能比较小的app。通过这个app,我总结一下在用flutter开发过程中的一些问题。
一、基础架构

以上是我的文件目录:
1、app.dart
flutter的入口方法是main(),因为我这里使用到了多环境配置,所以在environment中我建立了3个文件:
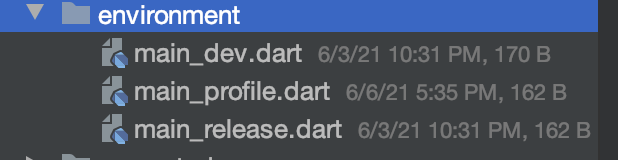
分别对应:测试版本、预发版本、线上版本。
以main_dev.dart代码举例:
void main() {
  //环境配置
  AppConfig.currentChannel = APPBuildConfig.DEV;
  appMain();
}
通过AppConfig记录环境变量,然后调用appMain(),而appMain就是app.dart 中写的伪入口方法。
//入口
void appMain() {
  //路由配置
  routerConfig();
  //android配置(主要设置Android头部的导航栏透明)
  androidConfig();
  WidgetsFlutterBinding.ensureInitialized();
  //方向配置
  SystemChrome.setPreferredOrientations([DeviceOrientation.portraitUp])
      .then((_) {
    runApp(MyApp());
  });
}
那么我就把app.dart当作了伪入口来使用了。
2、config

主要根据不同环境做一些公用的配置,比如baseurl,h5的固定地址,是否打印log 等等。
3、constants
主要用来设置一些公用的常量,比如 http的请求api,颜色值等等。
4、manager
根据单一职责原则,定义比如用户管理类,请求管理类等管理类。
5、base
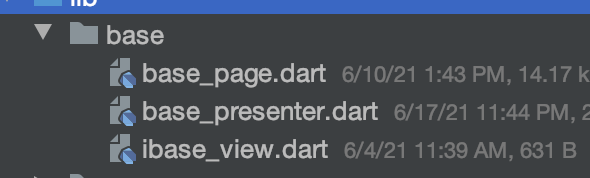
可以看到,对base层的封装,主要采用了类似android的常规mvp的设计模式。
6、utils 工具类
比如颜色rgb和16进制互转的工具类、屏幕相关计算的工具类、时间转行的工具类等等。
7、router 路由
路由的管理类
8、widget
比如loading、默认页、input封装 等公用的组件。
9、module
对应的每一个业务模块
10、common
公用的业务模块
11、generated和l1on
多语言配置
二、base层
不管开发哪个端,工厂设计模式都是必不可少的。也比如oc有分类,swift有协议扩展,可以更多的去取代继承方案。但是对于dart来说,更多的是面向对象的思想,并且和android非常类似。
所以我对base_page的封装基本上是参考了android的BaseActivity的封装。而base_page其实就是一个BasePageState,是一个抽象类。下面具体说下base层的封装:
1、mvp
首先我创建一个BasePageState这个抽象类,同时继承了State。作为每一个StatefulWidget中state的基类。
然后创建一个BasePresenter,作为业务处理的基类。
最后创建一个IBaseView抽象类作为BasePageState的接口,供presenter向pageState通信。
其中BasePageState的定义:
abstract class BasePageState<V extends StatefulWidget, T extends BasePresenter>
    extends State<V>
    with WidgetsBindingObserver, RouteAware
    implements IBaseView {
    }
通过泛型指定StatefulWidget 和 BasePresenter,然后实现IBaseView接口的方法。
abstract class IBaseView {

  BuildContext buildContext();
  ///pageLoading
  void showPageLoading();
  void showPageLoadingBy(bool isCanTouchOutSide);
  void hiddenPageLoading();
  ///commitLoading
  void showCommitLoading(String msg);
  void hiddenCommitLoading();
  ///pageState
  void showPageState(TKPageState state,{String msg,EdgeInsets margin,bool isCanTouch});
  ///reload
  void onReload();
  ///call back
  void callBack(bool success,{String identer});
  ///only refresh
  void refreshData(bool isPullRefresh);
}
2、基本组件集成
在BasePageState类中的build方法如下:
 ///MARK: build
  @override
  Widget build(BuildContext context) {
    if (AppConfig.lifePrint) {
      print("life =>" + _getClassName() + ":build");
    }
    return Scaffold(
      backgroundColor:bgColor,
      resizeToAvoidBottomInset: false,
      appBar: isFullScreen() ? null : buildAppBar("", "icon_w_back"),
      body:body(),
    );
  }
分发一个body()方法,在body()方法中去集成loading组件、默认页等基本组件。
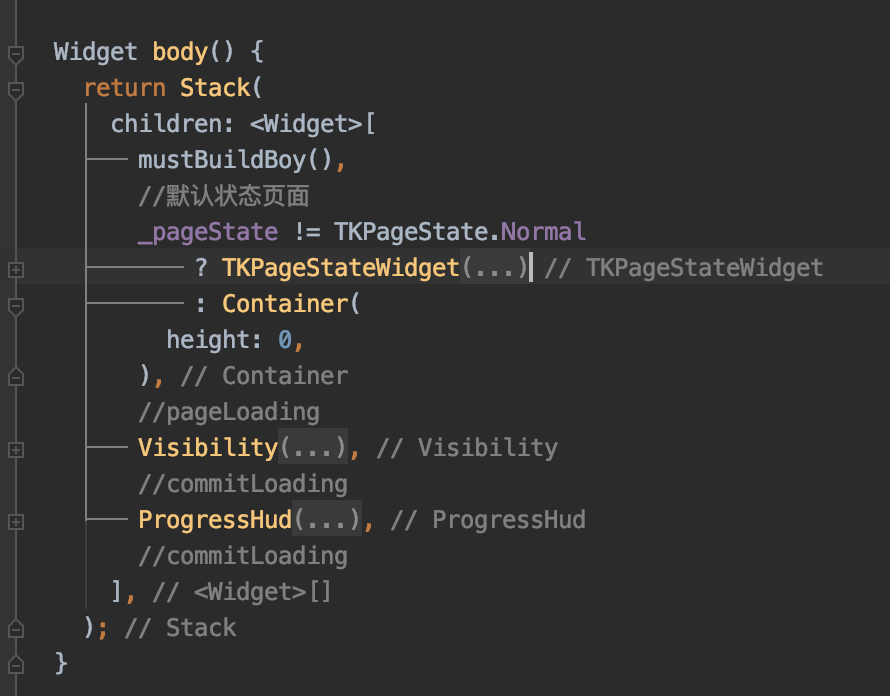
其中mustBuildBoy(),是一个抽象方法,子类必须实现的。通过mustBuildBoy来设置子页面。
3、生命周期
我们先来看下flutter state的基本生命周期:
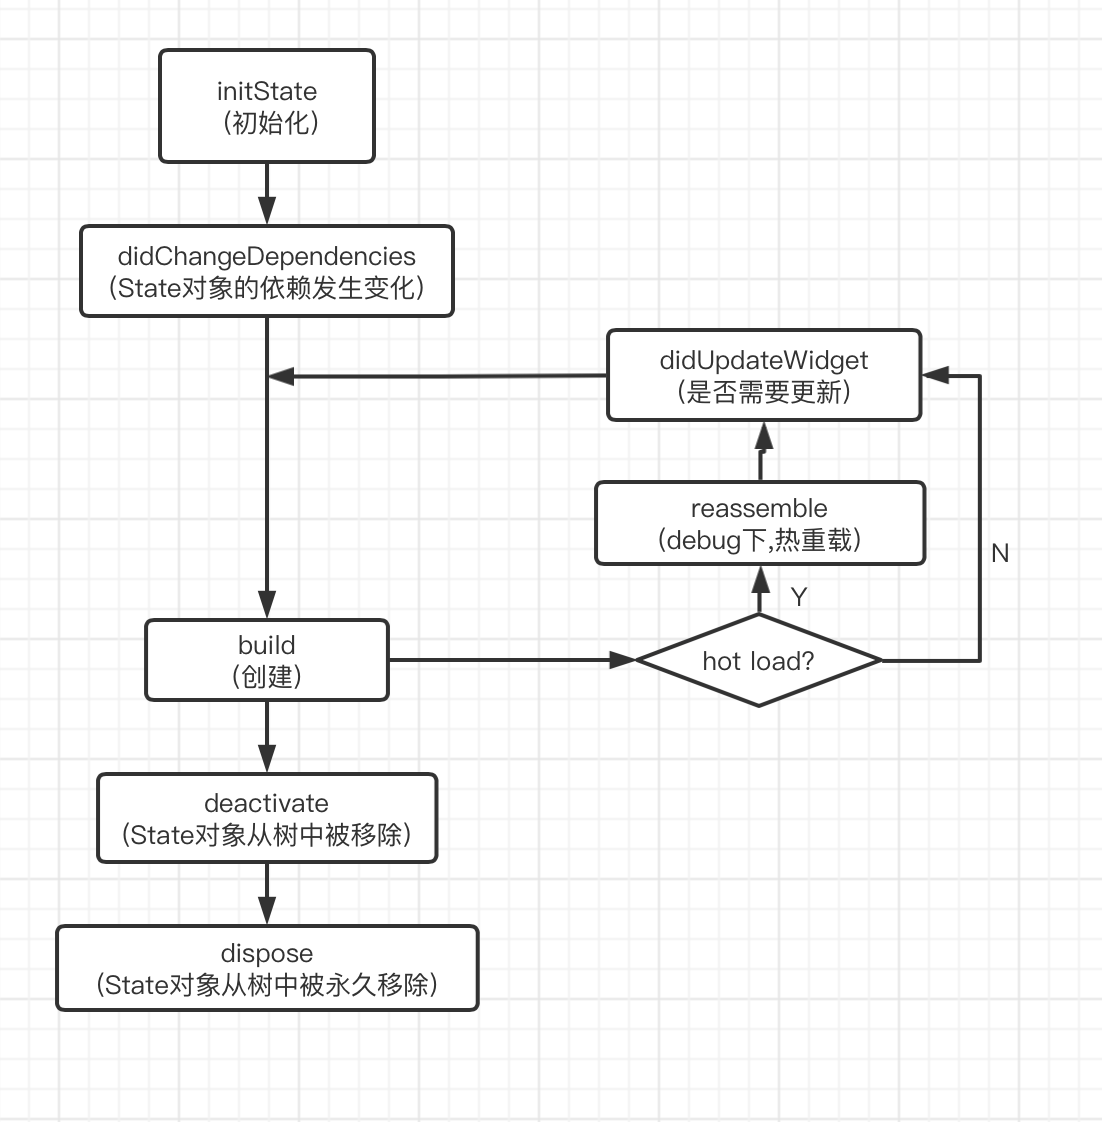
大致可以分为三个状态:(1)初始化 (2)状态改变 (3)销毁
这些生命周期在大部分的场景下,是满足我们的开发需求的。但是像ios中的viewDidAppear,viewDidDisappear 或者 android中的onResume、onPaused的生命周期方法并没有提供呢。
由于我项目整体是使用了fluro的路由框架。
那么我通过在BasePageState中实现fluro这个库中RouteAware的抽象类的方法
abstract class RouteAware {
  /// Called when the top route has been popped off, and the current route
  /// shows up.
  void didPopNext() { }

  /// Called when the current route has been pushed.
  void didPush() { }

  /// Called when the current route has been popped off.
  void didPop() { }

  /// Called when a new route has been pushed, and the current route is no
  /// longer visible.
  void didPushNext() { }
}
其中didPopNext,比如从A push到B,再从B回到A的时候,会调用。那么就可以满足再次回到A的时候去做一些刷新工作的需求。
那么还有一个比较常见的场景:
点击app底部tabbar进行页面切换的时候,比如android是切换fragment,ios是切换UIViewController,它们都有相应的生命周期方法可以监听到切换显示的回调。那么flutter并没有提供,于是这里我通过eventBus进行了切换通知。这里可能还有更多好的方案,以后再探索了。
三、EventBus
在ios中我们做通知的时候,系统提供了NSNotificationCenter。在android中,系统提供了BroadcastReceiver,同时也经常会使用eventbus。
那么在flutter中做一对多的通知时,我们有哪些方案呢?比如有类似RN的redux,flutter自己的Provider。这些做前端的同学可能会比较熟悉。那么对于我这种移动端出身的来说,我就先尝试使用EventBus来做了。其用法也很简单,网上随便都能查到。
四、Key
我目前的项目中只用到了GlobalKey,使用GlobalKey的目的是为了能够访问到部件的state,从而进行多处操作。
这里后面具体分析Key底层原理以及具体的作用。
五、多语言
1、首先安装Flutter Intl插件,会在pubspec.yaml中增加:
flutter_intl:
  enabled: true
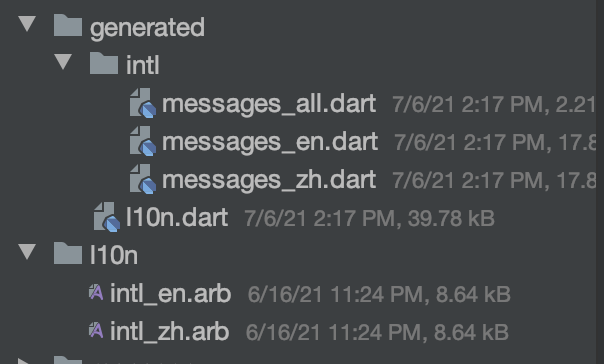
2、会在lib目录下增加 generated 和 l10n两个包
3、可以通过Tools -> Flutter Intl -> Add Locale 增加语言
我这里增加了中文和英文。
4、设置国际化语言
 @override
  Widget build(BuildContext context) {
    return MaterialApp(
      navigatorKey: appNavigatorKey,
      localizationsDelegates: [
        GlobalMaterialLocalizations.delegate, // 指定本地化的字符串和一些其他的值
        GlobalCupertinoLocalizations.delegate, // 对应的Cupertino风格
        GlobalWidgetsLocalizations.delegate, // 指定默认的文本排列方向, 由左到右或由右到左
        S.delegate
      ],
      locale: TKLocalizations.shared().locale,
      supportedLocales: [Locale("en"), Locale("zh")],
      //页面监听
      navigatorObservers: [routeObserver],
      title: 'xxx',
      color: bgColor,
      debugShowCheckedModeBanner: false,
      theme: ThemeData(
        backgroundColor: Color.fromRGBO(247, 248, 250, 1),
        primarySwatch: createMaterialColor(mainColor),
        visualDensity: VisualDensity.adaptivePlatformDensity,
      ),
      home: Scaffold(
        body: SplashPage(),
      ),
    );
  }
5、使用
在需要配置国际化的地方调用S.of(context).key即可.
没有context 时可以使用S.current.key
6、设置默认显示语言和切换语言
由上面的代码可以看到,通过 locale: TKLocalizations.shared().locale, 来设置默认语言。
TKLocalizations是我们封装的一个语言管理类:
class TKLocalizations {

  //英文
  static const enLocale = Locale("en");
  //中文
  static const zhLocale = Locale("zh");

  Locale locale;
  String language;

  factory TKLocalizations() => shared();
  static  TKLocalizations _instance;

  // 私有构造函数
  TKLocalizations._() {
    // 具体初始化代码
    this.locale = zhLocale;
    switchLanguage(locale);
  }

  void switchLanguage(Locale locale) {
    if (locale == enLocale) {
      this.language = "English";
    } else if (locale == zhLocale) {
      this.language = "简体中文";
    }
  }

  static TKLocalizations shared(){
    if(_instance == null){
      _instance = TKLocalizations._();
    }
    return _instance;
  }
}
那么如果要实现切换语言,需要把MyApp设置成StatefulWidget。然后监听语言管理类中语言的变化,最后setState()刷新整体app。