OC底层 - 应用程序加载(2)
前言
一、配置环境变量
二、加载共享缓存
三、dyld3的闭包模式
四、初始化主程序
通过对应用程序加载的大致流程分析,我们了解从dyld的main 到 notifyMonitorDyldMain 之间的流程:
1、配置环境变量
2、加载共享缓存
3、实例化主程序
4、加载插入的动态库
5、链接主程序
6、链接动态库
7、weakBind弱引用绑定主程序
8、初始化主程序
9、通知所有监控启动进程的进程,将要进入main函数。
接下来我们就分析一下每一步的具体内容。
一、配置环境变量
if ( sEnv.DYLD_PRINT_OPTS )
		printOptions(argv);
	if ( sEnv.DYLD_PRINT_ENV )
		printEnvironmentVariables(envp);
根据环境变量配置打印信息:
我们在Xcode中设置一下 DYLD_PRINT_OPTS 和 DYLD_PRINT_ENV :
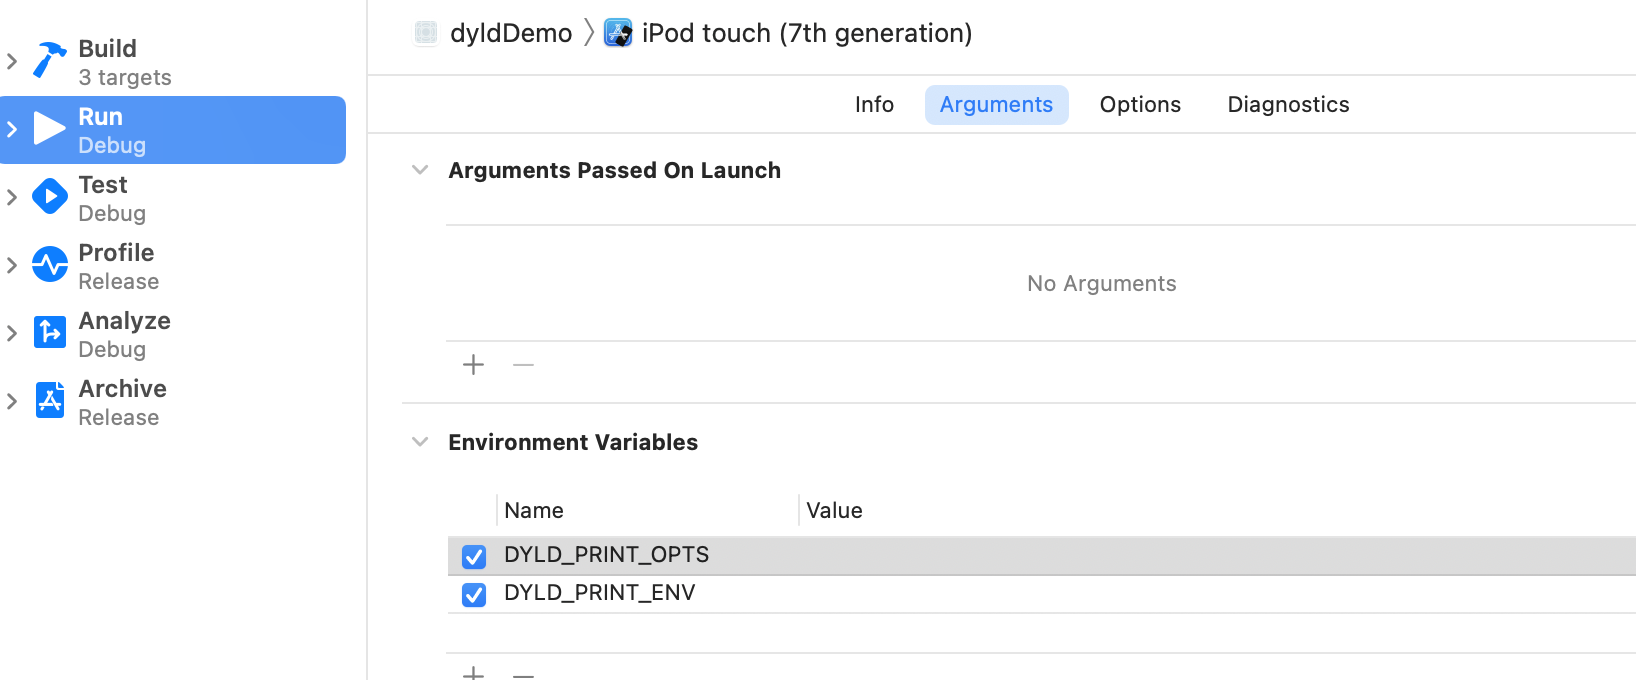
运行之后可以输出指定的环境变量。
二、加载共享缓存
由于IOS系统中 UIKit/Foundation等库每个应用都会通过dyld加载到内存中,因此为了节约空间,苹果将这些系统库放在了一个地方:动态库共享缓存区(dyld share cache)
因此 , 类似 NSLog 的函数实现地址 , 并不会也不可能会在我们自己的工程的 Mach-O 中 , 那么我们的工程想要调用 NSLog 方法 , 如何能找到其真实的实现地址呢 ?
(1)在工程编译时,所产生的Mach-O可执行文件中会预留出一段空间,这个空间其实就是符号表,存放在_DATA数据段中(因为_DATA段在运行时是可读可写的),所以共享缓存区的系统库方法,其指向的地址设置成符号地址,放在间接符号表里面。
(2)运行时,当dyld将应用程序加载到内存中时,根据load command中列出的需要加载哪些库文件,去做绑定操作,比如NSLog,dyld就会去找到Foundation中NSLog的真实地址写到_DATA段的符号表中NSLog的符号上面。
这个符号的绑定过程,今后会具体的进行分析。
三、dyld3的闭包模式
简答的来说:dyld3 的最重要的特性就是启动闭包,闭包里包含了启动所需要的缓存信息,从而提高启动速度。ios13之后,dyld3完全代替dyld2。
那么什么是启动闭包呢?
在dyld2的加载流程中,解析mach-o headers 以及 查找依赖库 存在安全风险,同时会耗费较多的cpu时间,所以这2部分在dyld3中将采用提前写入把结果数据缓存成文件的方式构成一个"lauch closure"(启动闭包)。
系统库的“启动必包”直接内置在共享缓存中,而对于我们自己开发的app,将在app安装或更新时生成。这样就能保证“启动闭包”总是在APP打开之前准备好。
通过源码可以看到闭包的大致流程:
1、通过环境变量判断闭包模式是否打开,ios13之后默认打开。
#if !TARGET_OS_SIMULATOR
	if ( _simple_getenv(envp, "DYLD_JUST_BUILD_CLOSURE") != nullptr ) {
#if TARGET_OS_IPHONE
		char tempClosurePath[PATH_MAX];
		if ( dyld3::closure::LaunchClosure::buildClosureCachePath(sExecPath, envp, false, tempClosurePath) )
			sJustBuildClosure = true;
#endif
		// If the env vars for the data contain look wrong, don't want to launch the app as that would bring up the UI
		if (!sJustBuildClosure) {
			_exit(EXIT_SUCCESS);
		}
	}
#endif
.....
if ( sJustBuildClosure )
		sClosureMode = ClosureMode::On;
.....
#if !TARGET_OS_SIMULATOR
	if ( sClosureMode == ClosureMode::Off ) {
		if ( gLinkContext.verboseWarnings )
			dyld::log("dyld: not using closures\n");
	}
2、如果闭包模式打开,会先从共享缓存中查找到这个实例:
// check for closure in cache first
		if ( sSharedCacheLoadInfo.loadAddress != nullptr ) {
			mainClosure = sSharedCacheLoadInfo.loadAddress->findClosure(sExecPath);
			if ( gLinkContext.verboseWarnings && (mainClosure != nullptr) )
				dyld::log("dyld: found closure %p (size=%lu) in dyld shared cache\n", mainClosure, mainClosure->size());
			if ( mainClosure != nullptr )
				sLaunchModeUsed |= DYLD_LAUNCH_MODE_CLOSURE_FROM_OS;
		}
3、如果拿到闭包实例之后,会先做验证:
if ( (mainClosure != nullptr) && !closureValid(mainClosure, mainFileInfo, mainExecutableCDHash, true, envp) ) {
			mainClosure = nullptr;
			sLaunchModeUsed &= ~DYLD_LAUNCH_MODE_CLOSURE_FROM_OS;
		}
4、如果没有找到有效的闭包,再去缓存中查一次,如果还没有找到,就调用buildLaunchClosure创建一个新的闭包:
// If we didn't find a valid cache closure then try build a new one
		if ( (mainClosure == nullptr) && allowClosureRebuilds ) {
			// if forcing closures, and no closure in cache, or it is invalid, check for cached closure
			if ( !sForceInvalidSharedCacheClosureFormat )
				mainClosure = findCachedLaunchClosure(mainExecutableCDHash, mainFileInfo, envp, bootToken);
			if ( mainClosure == nullptr ) {
				// if  no cached closure found, build new one
				mainClosure = buildLaunchClosure(mainExecutableCDHash, mainFileInfo, envp, bootToken);
				if ( mainClosure != nullptr )
					sLaunchModeUsed |= DYLD_LAUNCH_MODE_BUILT_CLOSURE_AT_LAUNCH;
			}
		}
5、如果启动失败或者闭包过期,这里就再重新调用buildLaunchClosure创建一个新的闭包并调用launchWithClosure重新启动一次。:
	// try using launch closure
		if ( mainClosure != nullptr ) {
			CRSetCrashLogMessage("dyld3: launch started");
			if ( mainClosure->topImage()->fixupsNotEncoded() )
				sLaunchModeUsed |= DYLD_LAUNCH_MODE_MINIMAL_CLOSURE;
			Diagnostics diag;
			bool closureOutOfDate;
			bool recoverable;
			bool launched = launchWithClosure(mainClosure, sSharedCacheLoadInfo.loadAddress, (dyld3::MachOLoaded*)mainExecutableMH,
											  mainExecutableSlide, argc, argv, envp, apple, diag, &result, startGlue, &closureOutOfDate, &recoverable);
			if ( !launched && closureOutOfDate && allowClosureRebuilds ) {
				// closure is out of date, build new one
				mainClosure = buildLaunchClosure(mainExecutableCDHash, mainFileInfo, envp, bootToken);
				if ( mainClosure != nullptr ) {
					diag.clearError();
					sLaunchModeUsed |= DYLD_LAUNCH_MODE_BUILT_CLOSURE_AT_LAUNCH;
					if ( mainClosure->topImage()->fixupsNotEncoded() )
						sLaunchModeUsed |= DYLD_LAUNCH_MODE_MINIMAL_CLOSURE;
					else
						sLaunchModeUsed &= ~DYLD_LAUNCH_MODE_MINIMAL_CLOSURE;
					launched = launchWithClosure(mainClosure, sSharedCacheLoadInfo.loadAddress, (dyld3::MachOLoaded*)mainExecutableMH,
												 mainExecutableSlide, argc, argv, envp, apple, diag, &result, startGlue, &closureOutOfDate, &recoverable);
				}
			}
			....
		}
6、启动成功设置gLinkContext.startedInitializingMainExecutable = true;并返回主程序的main
if ( launched ) {
				gLinkContext.startedInitializingMainExecutable = true;
				if (sSkipMain)
					result = (uintptr_t)&fake_main;
				return result;
			}
			else {
				if ( gLinkContext.verboseWarnings ) {
					dyld::log("dyld: unable to use closure %p\n", mainClosure);
				}
				if ( !recoverable )
					halt(diag.errorMessage());
			}
四、初始化主程序
由于dyld2和dyld3的加载流程基本上是一样的,实例化主程序、加载插入的动态库、链接主程序、链接动态、弱绑定主程序,我们在之前已经大致分析过了,接下来主要对 initializeMainExecutable() 来具体分析:
void initializeMainExecutable()
{
	// record that we've reached this step
	gLinkContext.startedInitializingMainExecutable = true;

    //先初始化插入的动态库
	// run initialzers for any inserted dylibs
	ImageLoader::InitializerTimingList initializerTimes[allImagesCount()];
	initializerTimes[0].count = 0;
	const size_t rootCount = sImageRoots.size();
	if ( rootCount > 1 ) {
		for(size_t i=1; i < rootCount; ++i) {
			sImageRoots[i]->runInitializers(gLinkContext, initializerTimes[0]);
		}
	}
	//初始化主程序
	// run initializers for main executable and everything it brings up
	sMainExecutable->runInitializers(gLinkContext, initializerTimes[0]);

	// register cxa_atexit() handler to run static terminators in all loaded images when this process exits
	if ( gLibSystemHelpers != NULL )
		(*gLibSystemHelpers->cxa_atexit)(&runAllStaticTerminators, NULL, NULL);

	// dump info if requested
	if ( sEnv.DYLD_PRINT_STATISTICS )
		ImageLoader::printStatistics((unsigned int)allImagesCount(), initializerTimes[0]);
	if ( sEnv.DYLD_PRINT_STATISTICS_DETAILS )
		ImageLoaderMachO::printStatisticsDetails((unsigned int)allImagesCount(), initializerTimes[0]);
}
可以看到,首先是初始化所有插入的动态库,然后初始化主程序。
其中核心函数:runInitializers -> processInitializers
void ImageLoader::runInitializers(const LinkContext& context, InitializerTimingList& timingInfo)
{
	uint64_t t1 = mach_absolute_time();
	mach_port_t thisThread = mach_thread_self();
	ImageLoader::UninitedUpwards up;
	up.count = 1;
	up.imagesAndPaths[0] = { this, this->getPath() };
	processInitializers(context, thisThread, timingInfo, up);
	context.notifyBatch(dyld_image_state_initialized, false);
	mach_port_deallocate(mach_task_self(), thisThread);
	uint64_t t2 = mach_absolute_time();
	fgTotalInitTime += (t2 - t1);
}
初始化准备:
// <rdar://problem/14412057> upward dylib initializers can be run too soon
// To handle dangling dylibs which are upward linked but not downward, all upward linked dylibs
// have their initialization postponed until after the recursion through downward dylibs
// has completed.
// 为了处理向上链接而不是向下链接的悬空 dylib,所有向上链接的 dylib // 都将其初始化推迟到通过向下 dylib 的递归 // 完成之后。
void ImageLoader::processInitializers(const LinkContext& context, mach_port_t thisThread,
									 InitializerTimingList& timingInfo, ImageLoader::UninitedUpwards& images)
{
	uint32_t maxImageCount = context.imageCount()+2;
	ImageLoader::UninitedUpwards upsBuffer[maxImageCount];
	ImageLoader::UninitedUpwards& ups = upsBuffer[0];
	ups.count = 0;
	// Calling recursive init on all images in images list, building a new list of
	// uninitialized upward dependencies.
//	对镜像列表中的所有镜像文件调用递归初始化,构建一个 // 未初始化的向上依赖项的新列表。
	for (uintptr_t i=0; i < images.count; ++i) {
		images.imagesAndPaths[i].first->recursiveInitialization(context, thisThread, images.imagesAndPaths[i].second, timingInfo, ups);
	}
	// If any upward dependencies remain, init them.
	if ( ups.count > 0 )
		processInitializers(context, thisThread, timingInfo, ups);
}
其中核心方法是: recursiveInitialization 递归进行初始化。
那么recursiveInitialization我们后面具体分析。